
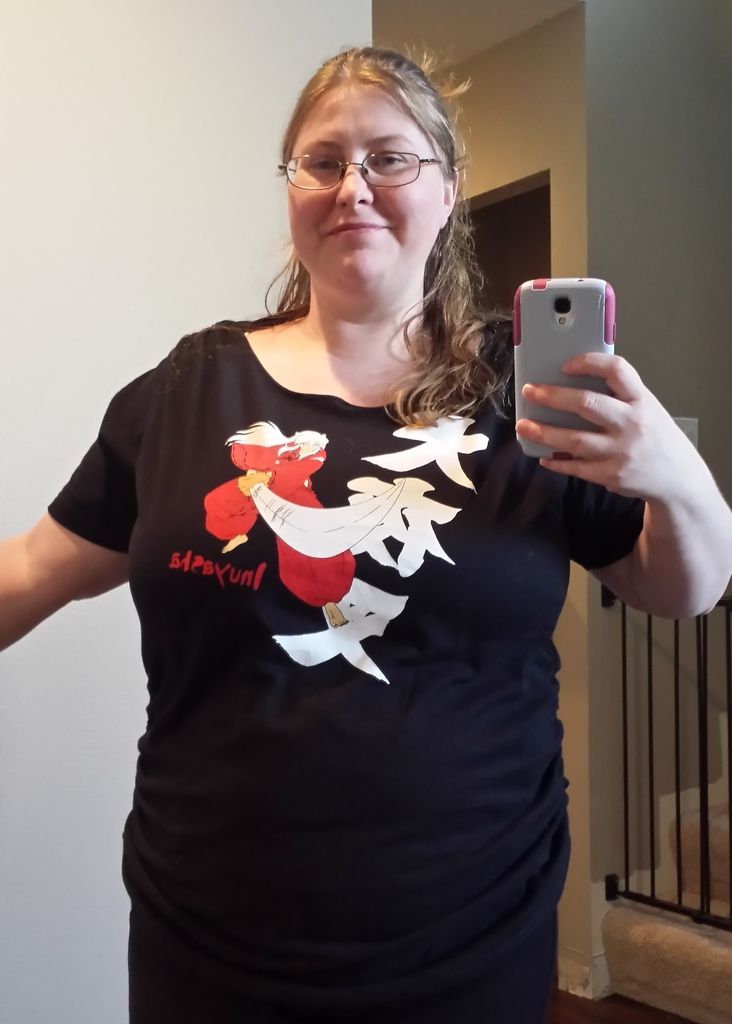
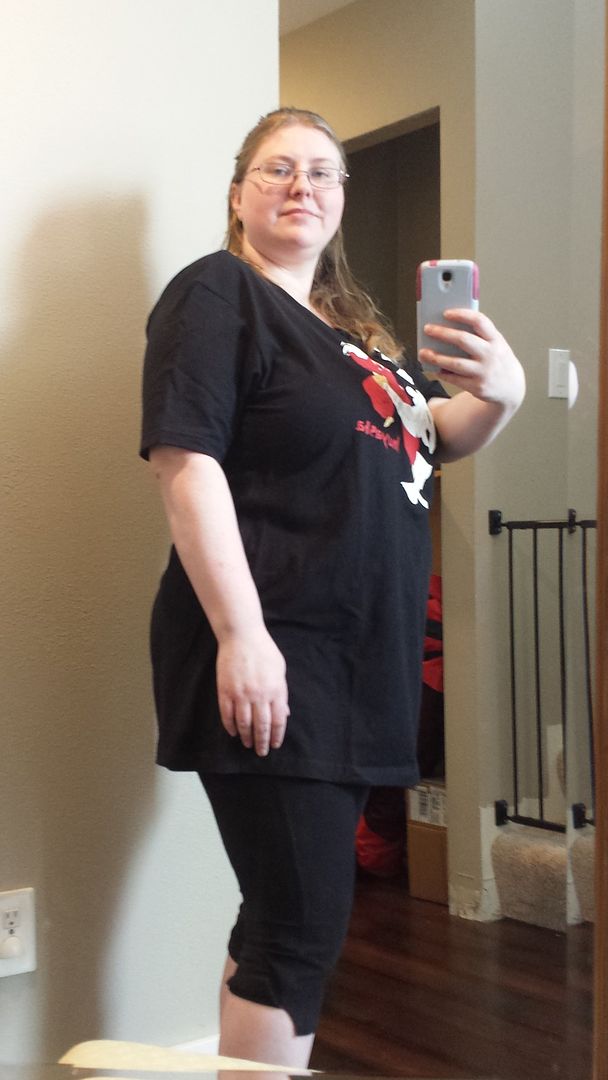
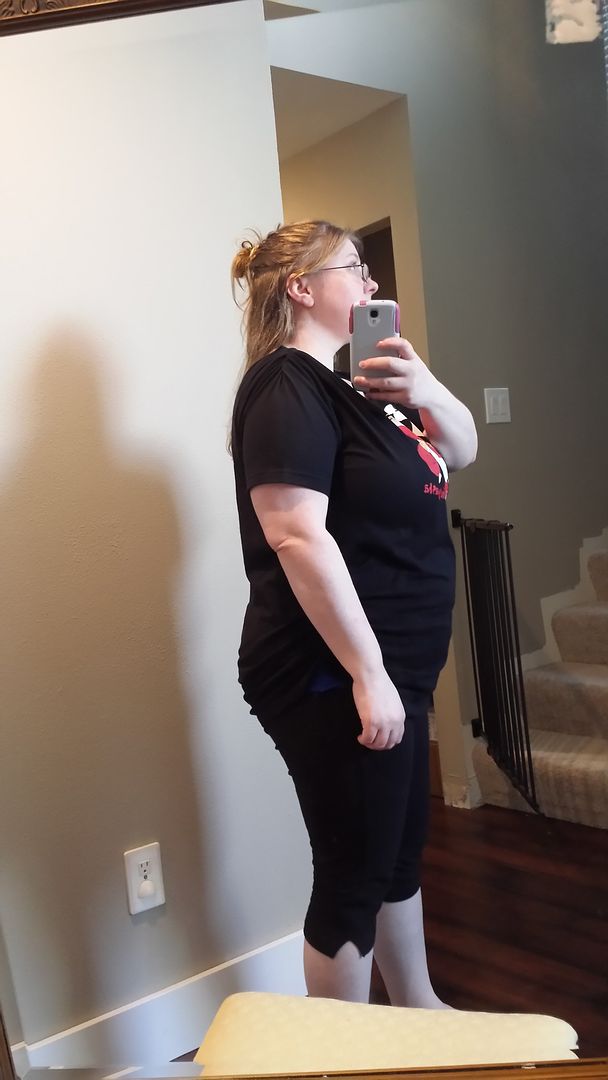
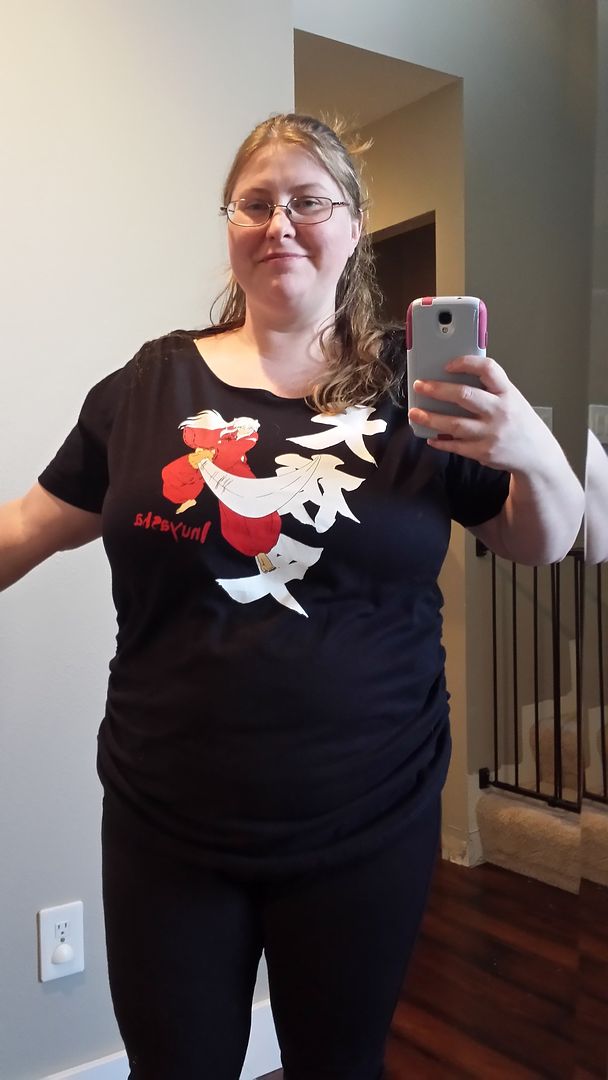
I feel like I am the Queen of Worst Selfies Ever, but I definitely wanted to share this great t-shirt idea (and Winda is no good at taking pictures!). So ignore the weird faces, funny arm poses and (why oh why did I wear) black pants...and hopefully you can find an easy t-shirt solution that will work for you. It does require some sewing, but it is very easy so anyone can do it!
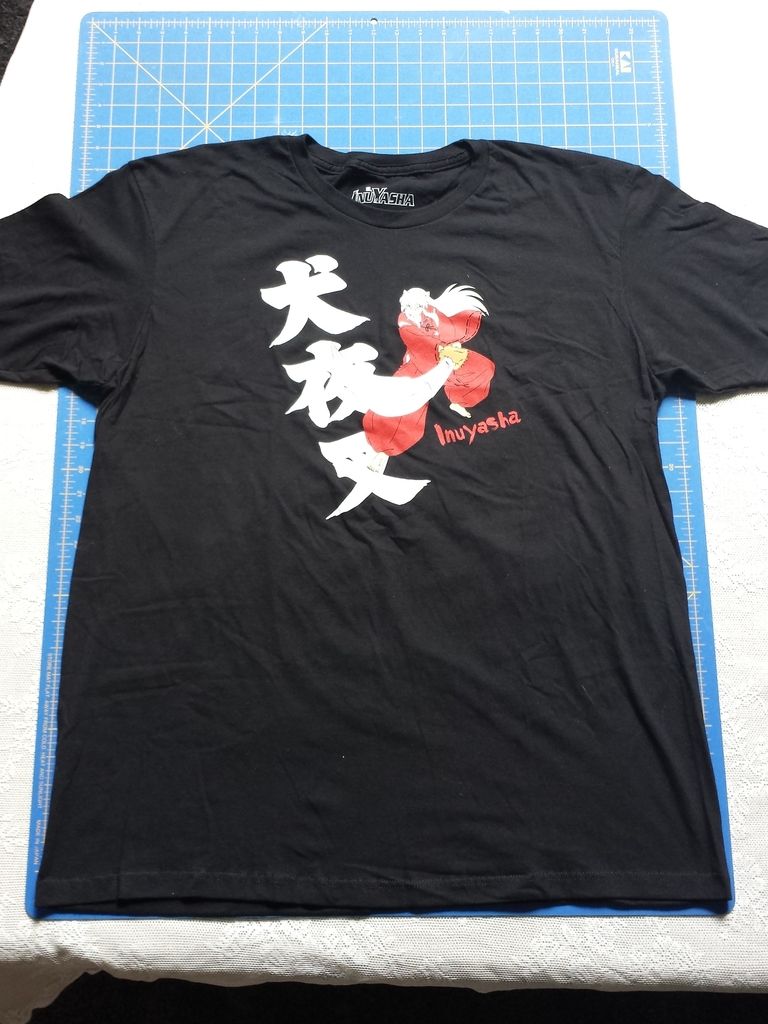
Last weekend at Sakuracon I was really excited to find t-shirts of some of my favorite anime (there was one I really wanted but the 'adult' women sized would have fit a teenager so that was a no-go). Unfortunately, I have never been able to comfortably wear t-shirts - the necks are too small and in order to fit across my chest I have to buy at least an extra large, which was huge every where else. But I really wanted those t-shirts - so I decided to find a way to fix my problems.
Here is wear I started:
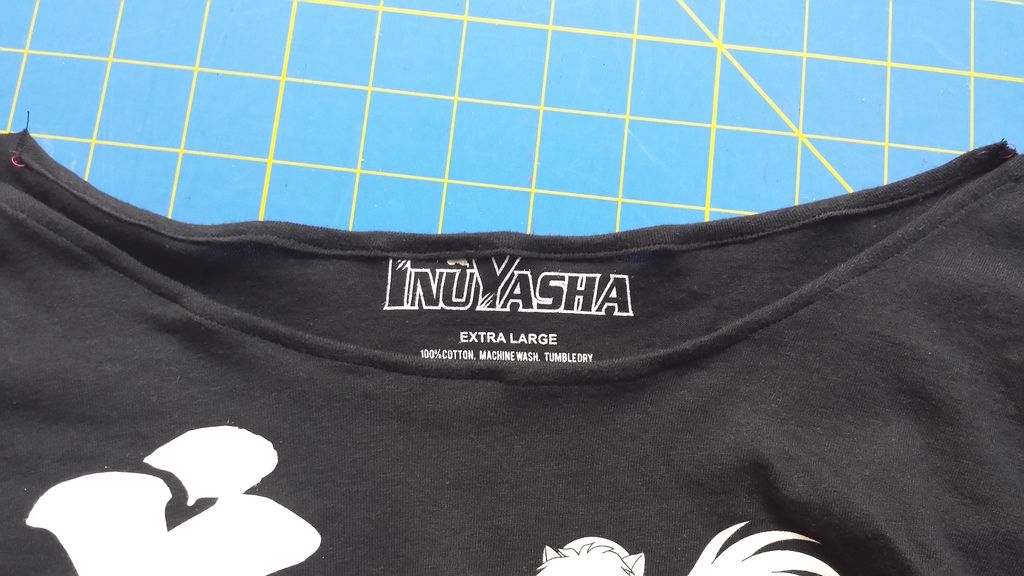
So my first step was to carefully cut out the neck and shoulder seams. Make sure you cut right along the seam so you get the correct shape, and so it wont end up falling off your shoulder. I cut about 3/4" past the hem of the sleeve as well.

Next, I made a new neckline by folding under the edge twice and stitching it. You can do a large hem than I did, but it will make the neck larger.
Once the front and back of the neck is hemmed, stitch the shoulder seams with the wrong sides together (this will seem wrong but keep going). I put the edge of the fabric at my machines 3/8" mark, and had the needle to the right so it would sew as close to the edge as it could.

Turn the t-shirt inside out and stitch the shoulder seam again. I used the 1/2" mark this time, keeping the needle to the right. This will encase the raw edge of t-shirt inside the seam, leaving a cleaner seam on the inside.
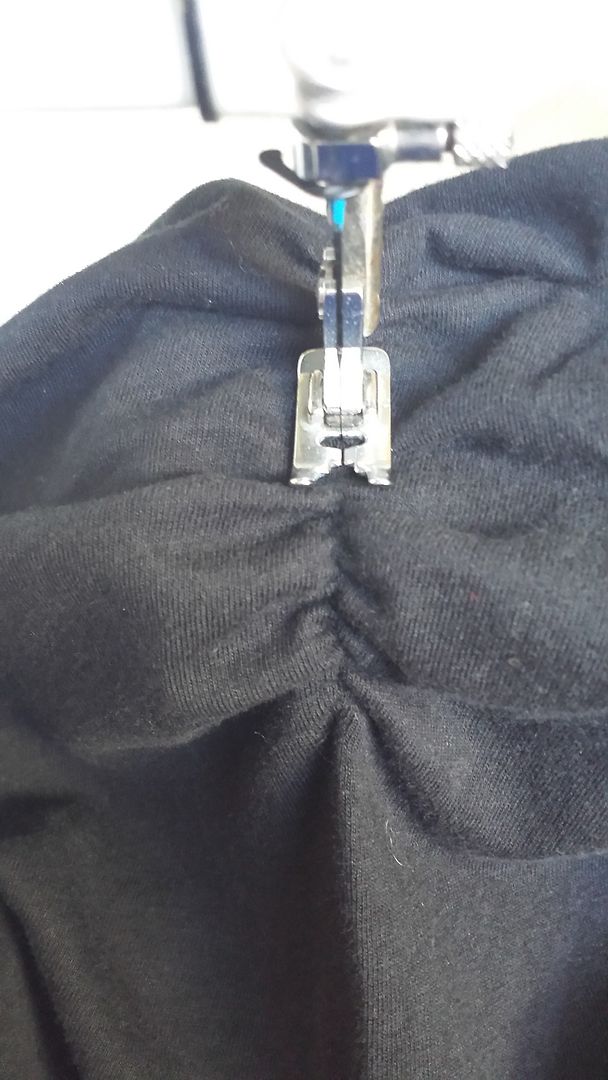
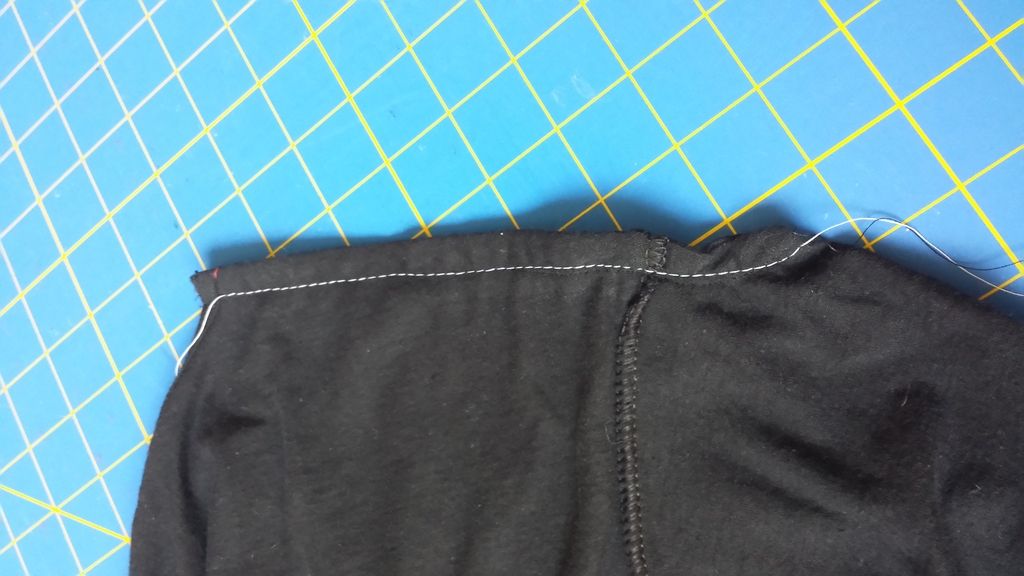 |
| The white thread is to demonstrate the large gathering stitch, if it is easier for you to see than you can use a different color as well, but it isn't necessary. |
Leaving the needle to the right, change the stitch length to the largest size and sew along the same 1/2" seam to make the gathering stitch (don't stay stitch this or you wont be able to gather it). Tie the two strings at one end together, and pull one of the strings on the opposite side. Once it is all gathered, tie the two strings for that side together. Be careful when you gather to not break the string - you will have to take it out and redo it if it breaks.
 Once the sleeves are complete, find the sides of the t-shirt. Iron the edges for a nice clear line to follow. Find where you would like to have the gathering end and place a pin on either side as guides. Using the iron line, sew a gather stitch from the bottom hem to the pin on both sides. Gather the t-shirt the desired amount (it wont be the same amount as the shoulders - so you will need to look in the mirror to judge where you want it to end up). My waist is very short so I did about 12" up the sides and gathered it to about 6". Once you are satisfied with all of the gathering, the last step is to sew over the gathered sections to reinforce them. Just lay the seam flat under your arm and stitch over the top. Be careful that you have evened out the gathering because it will not move anymore.
TA-DA all done!! Now go take some weird selfies like these:
Have a great day!
Beth
No comments:
Post a Comment