Wednesday, March 12, 2014

One Pot Tomato Basil Pasta


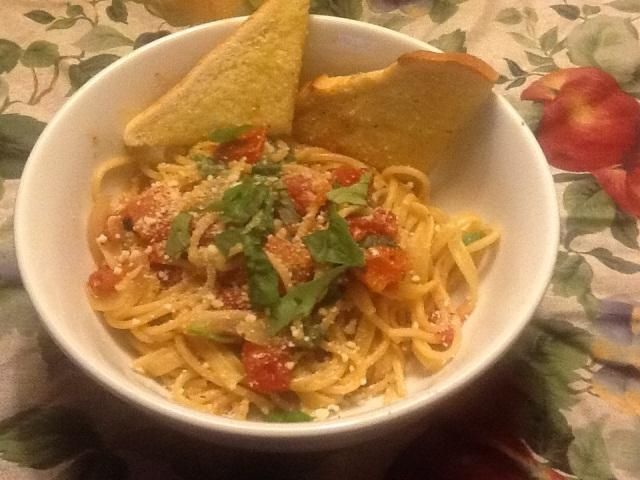
If you are looking for a quick, easy, no mess dinner - this is for you. It took my less then 10 minutes to throw it together and about 20 minutes to cook it.  While it was on the stove my whole house started to smell amazing and I couldn't wait to try it (this is saying a lot, because I'm not a huge pasta fan). It was really good and I think next time I will add some small fresh mozzarella balls at the end to make it a caprese pasta. You really could make this a bunch of different ways adding veggies, meat or other ingredients to change up the favors.  I found this recipe here. 
One Pot Tomato Basil Pasta
Ingredients:

12 oz pasta (I used half spaghetti and half fettuccine)
2 cans of diced tomatoes 14.5 oz (I used ones with fennel and red peppers)
1 onion chopped
6 cloves of garlic sliced
2 tablespoons olive oil
1 and a half tablespoons Italian seasoning
4 and a half cups of chicken or vegetable broth
A bunch of basil
 parmesan cheese (optional)
1 tablespoon red pepper flakes (optional, I did not use them because they were already in the tomatoes, but if you use plain tomatoes I would use them)

Directions:

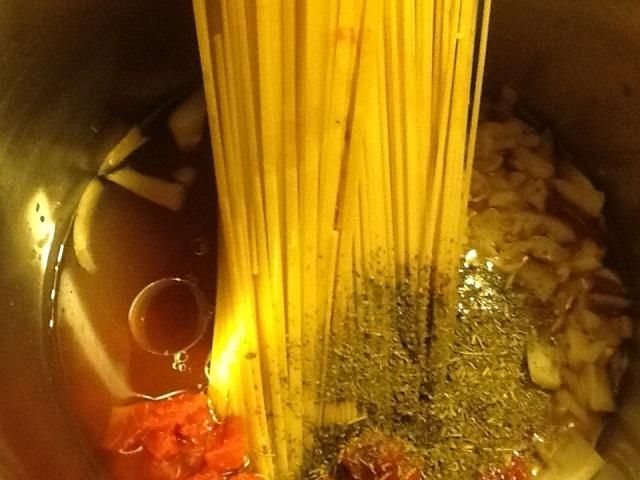
Throw everything in the pot except the basil and cheese (if using).


I broke the noodles in half after this photo.

Put a lid on the pot and bring to a boil over medium high heat. Once it begins to boil - stir it, turn the stove down to low and put the lid back on. Stir every few minutes while the liquid gets absorbed, about 10 minutes or so. Once there is only a little liquid left add the basil and stir.

Your dinner is now done!  Put it on a plate, add cheese and enjoy!

It felt like a stew day...

We have been having lot's of rain in our area. Twice now we have had one road flood going out of town. Whenever we have downpours I feel like making something warm and hearty. This is my go-to stew. I love slow cooking a big beef chuck roast, the results are tender and flavorful. 

I have to tell you a quick story! Every time I use Bay leaf I remember this time while I was making baked beans, that's a great recipe that I will have to share soon. I was super excited to serve my new recipe to my husband, he's the best guinea pig! I forgot to remove the bay leaf. Guess who chomped down on it? My poor husband! Every time I make something that has a Bay leaf, he tells me not to. I learned my lesson though and I won't make that mistake again, I hope!

Here's my Hearty Beef Stew!


 I usually make this recipe as I'm reading it, but for the blog I prepped everything and it went a lot smoother. Imagine that. I really need to start prepping before I make the recipe!

I cut about 6 slices of bacon into strips. My husband likes small pieces of the stew meat, this was almost 4 pounds of Beef chuck. 


2 Tablespoons of Butter and oil ( I used Sunflower oil) The tube on top is tomato paste, I used around 2 tablespoons of that as well.


 Three carrots diced, three celery diced, and 2 garlic minced.


Six tablespoons of minced onions ( you can diced a whole yellow onion if you have it)


I put the oil in my dutch oven and heated to medium. I added the sliced bacon. Once cooked, I removed the bacon. I think I'll use that for breakfast!


I added half of my chuck to brown, removed it then added the second half and removed it as well.


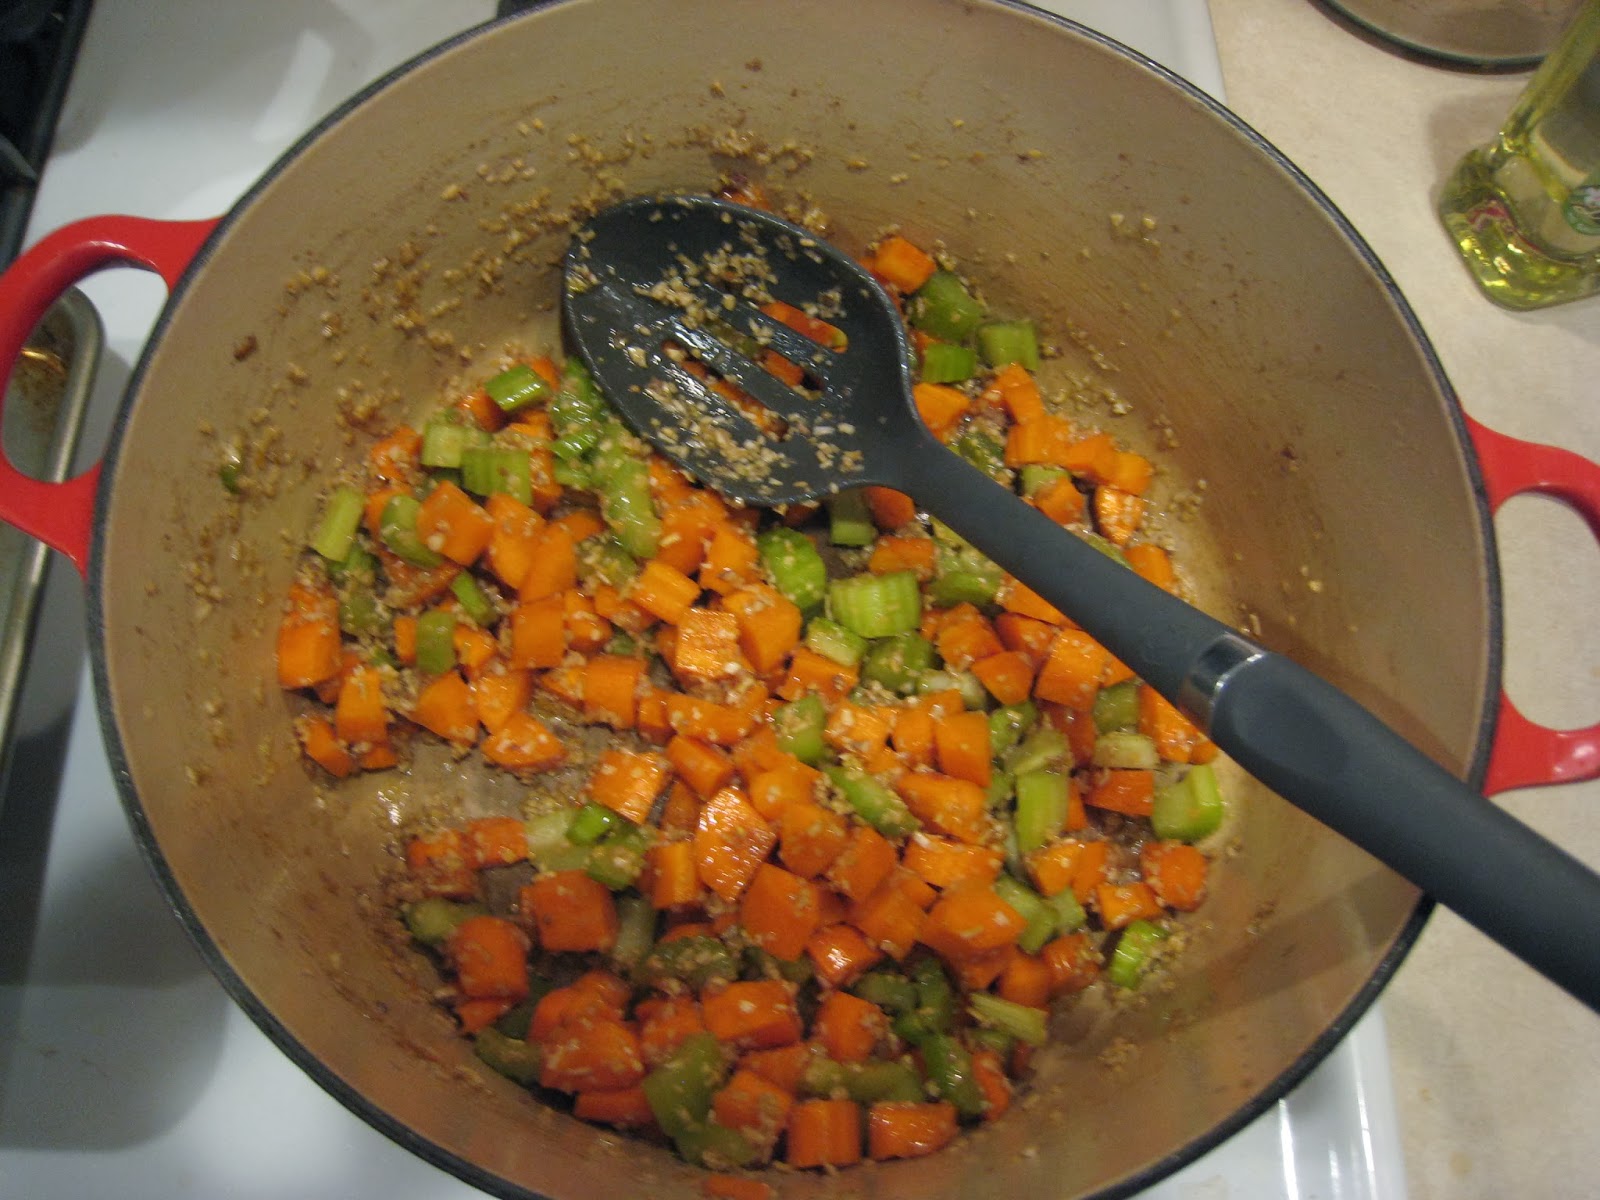
I added the carrot, celery, garlic and minced onion and let cook for around 5 minutes.


 I added the butter!


 When the butter melted I added the flour and let the flour mixture cook for a minute.


All of the veggies now have a coating of the buttery and flour goodness.


Slowly add 4 cups of beef broth 


 It will look like gravy!


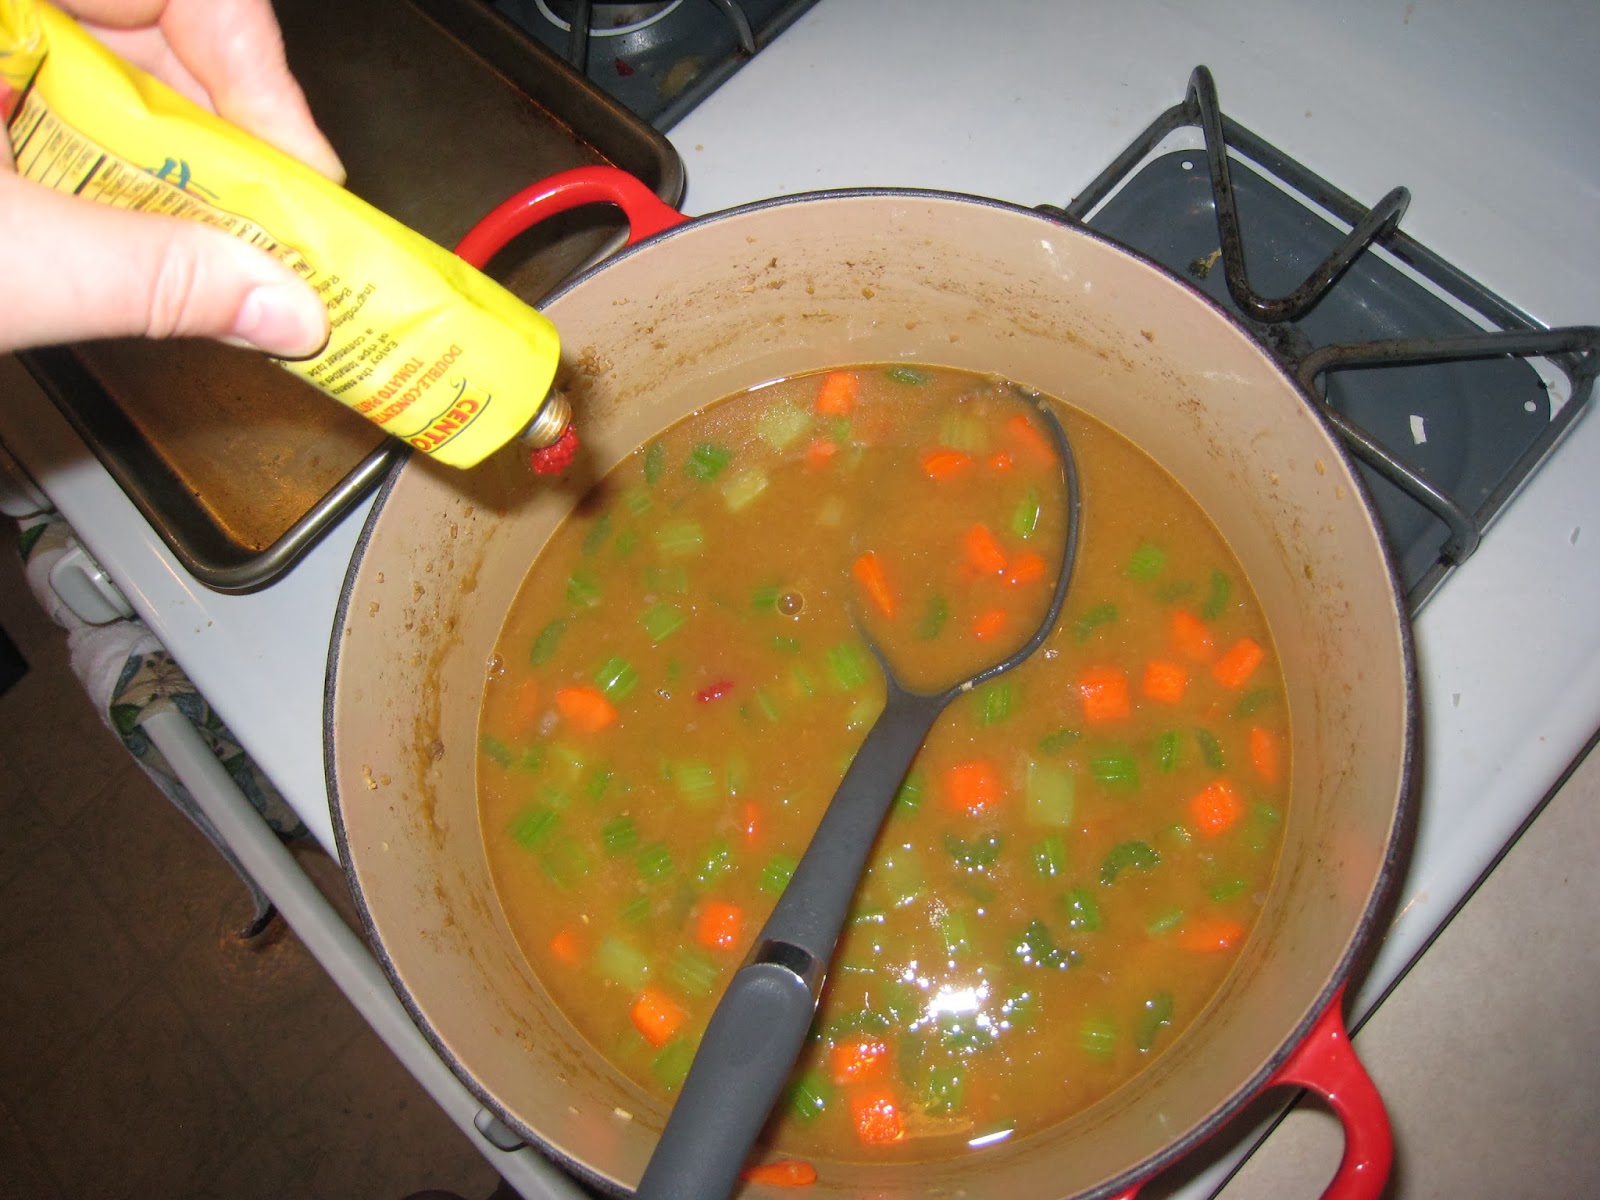
Add tomato paste.


 Wonder what that foreign green thing is? It is a tea or herb infuser, I stuffed two Thyme sprigs and two rosemary sprigs and one bay leaf.  Add the beef back into the pot. 


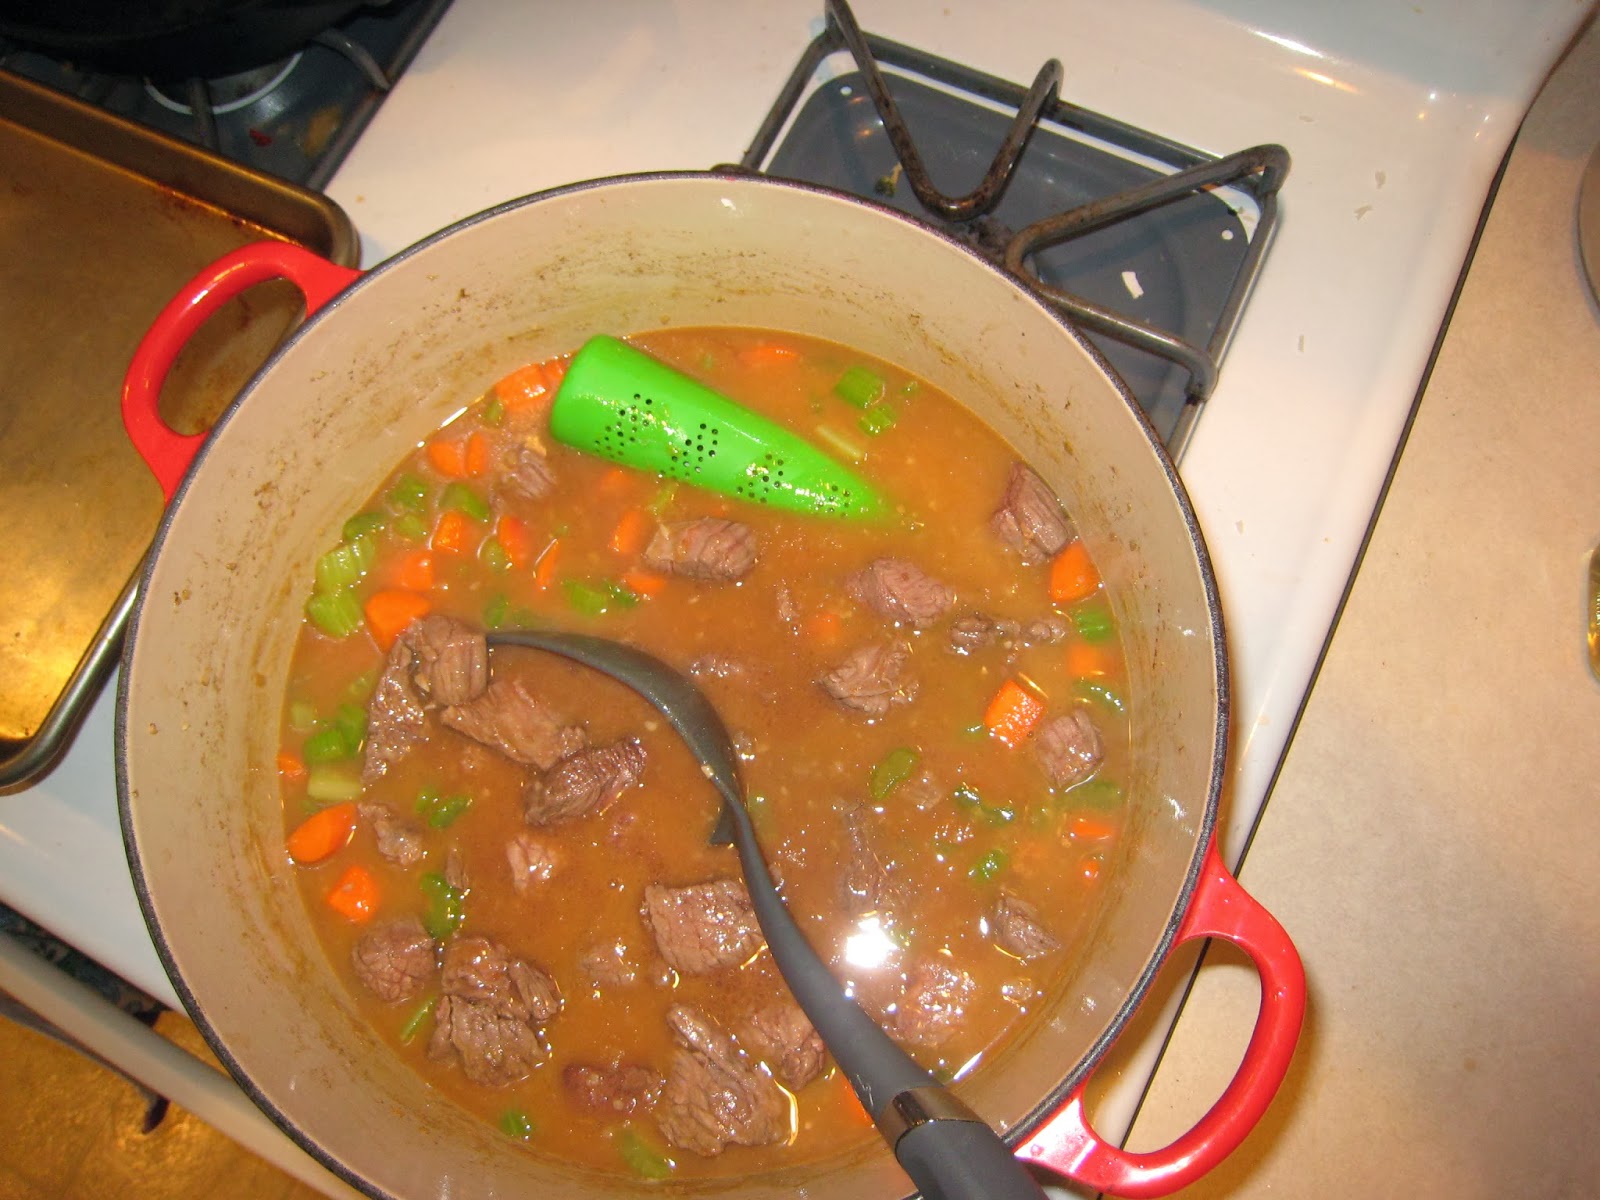
I mean this in the nicest way...put a lid on it! Then into the oven it goes, at 325 F for 1 1/2 hours.


Here it is! It smells amazing and mouth watering. Remove your herbs and don't forget that bay leaf! I served it over smashed potatoes. I will be repurposing this recipe into pot pies.

Here's the recipe. 

3 pounds of boneless beef chuck cut to 1 1/2 cubes
6 slices of bacon (4 if using thick)
2 tablespoons of oil
1 yellow onion or if you don't have any substitute dry minced onion
3 carrots diced
3 celery diced
2 cloves of garlic minced or chopped However you like
2 Tablespoons of butter
6 Tablespoons of flour
4 Cups of Beef stock
2 Tablespoons of Tomato paste
FreshThyme and Rosemary. you can wrap up your bundle (2 sprigs each) with twine or mince 2 teaspoons each.
1 Bay leaf

Preheat your oven to 325 F

Heat dutch oven to medium heat and cook bacon until crisp. Remove and use for another use or top stew with it when cooked. Cook beef cubes in two batches and remove from pan. Add oil and cook onions, carrots, celery and garlic until onion is translucent or about 5 minutes. Add butter and melt. Sprinkle with the flour and stir while cooking for about a minute. Slowly add beef broth then add tomato paste. Add herbs and meat back into the pot and cover with a lid and cook for 1 1/2 hours. 

I serve the stew over mashed potatoes. 

You can also add diced potatoes and cook for an additional 45 minutes to make it a one pot meal.

Enjoy!

This recipe was adapted from here

Tuesday, March 11, 2014

Steak Fingers


One of my favorite foods is Country Fried Steak.  Seriously - anytime we eat out for breakfast (or somewhere that has breakfast all day) I have to order it.  I have tried to duplicate it at home - sometimes successfully, sometimes not so much.  Then, a few years ago, I found these things called Steak Fingers...Yep - Country Fried Steak in finger food size!  They were soo yummy, but were only available for a few months.  I was very sad when they stopped selling them.
 
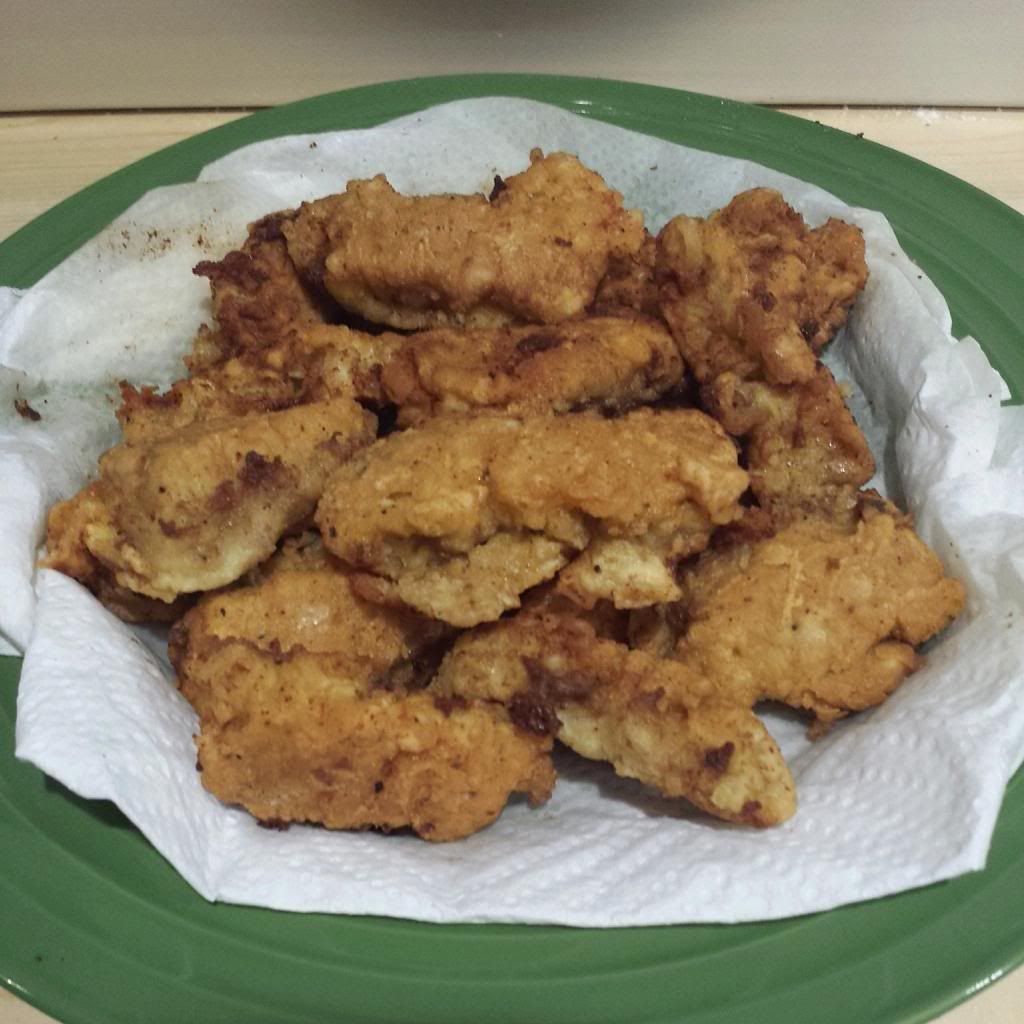
Then one day I realized I could easily make them for myself...then I decided I could probably make lots and freeze them!  That way I could have them anytime I wanted without the fuss.  So that's what I did.  I simply cut my cube steak up into strips and seasoned them, coated them with flour (which I added seasonings to as well), and fried them in oil with butter added.  I floured all of the strips at once, so they would have time to sit and absorb - if they needed more flour I recoated them.  For the oil, I only use enough to go halfway up the sides and added about a tablespoon of butter.  I use this trick with fried chicken as well because it makes them golden brown.  Besides - you know - butter makes everything better! 

They were delicious!  Then I froze half of them and made them the next night (I baked them at 375 degrees until hot) - and they were still delicious!  So now I always make extra and save them for another day...if only I could get them to last more than a few days without eating them all!        

Monday, March 10, 2014

It's a swing...and a miss

This weekend I thought I would try something I have been reading about for awhile - making liquid soap out of bar soap.  It isn't one of those things I am trying to finding a better price for - I can find a pretty decent price for decent hand soap pretty much anywhere - but I thought it would be fun.  I also really wanted to use this homemade soap I got as a gift awhile back.  I asked my mom for a bar of this great soap that smells like sweet peas (one of my favorite scents) made at The Soap Crate - she got me a brick!  It is way more than I will ever use because I prefer liquid soap, but I thought it would be great to use for this.  So I found a couple different sites and they all pretty much said the same thing - 1 bar of soap, shredded, dissolved in 10 cups of water.  That seems a little too easy, but lets try it!

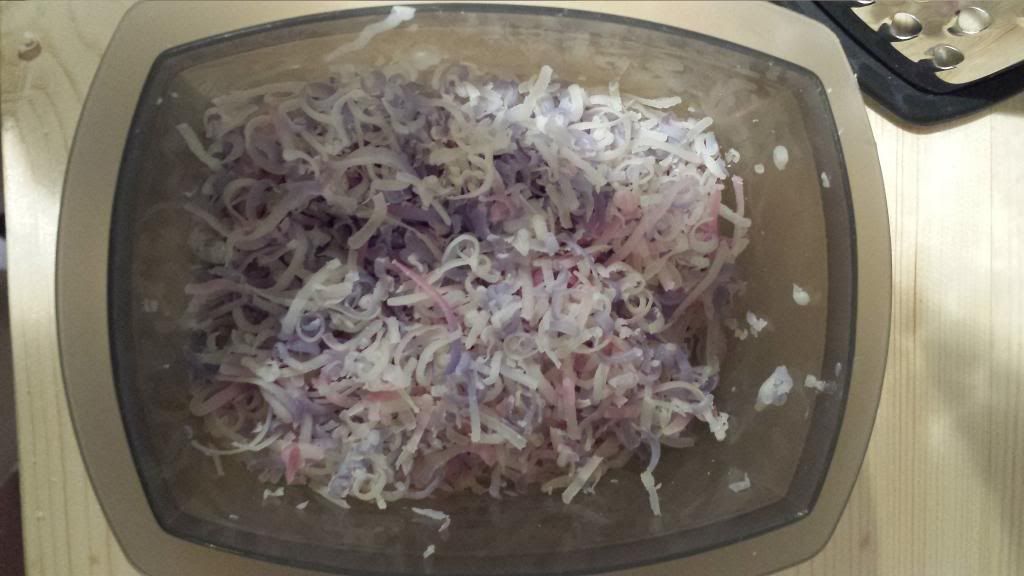
So I started shredding the Sweet Pea soap...It was soo pretty and it smelled heavenly!!


And then I added it to the water (I used 5 cups instead of 10 since I did not want a lot of left over soap to store until I knew it would work) and heated it until it was disolved...


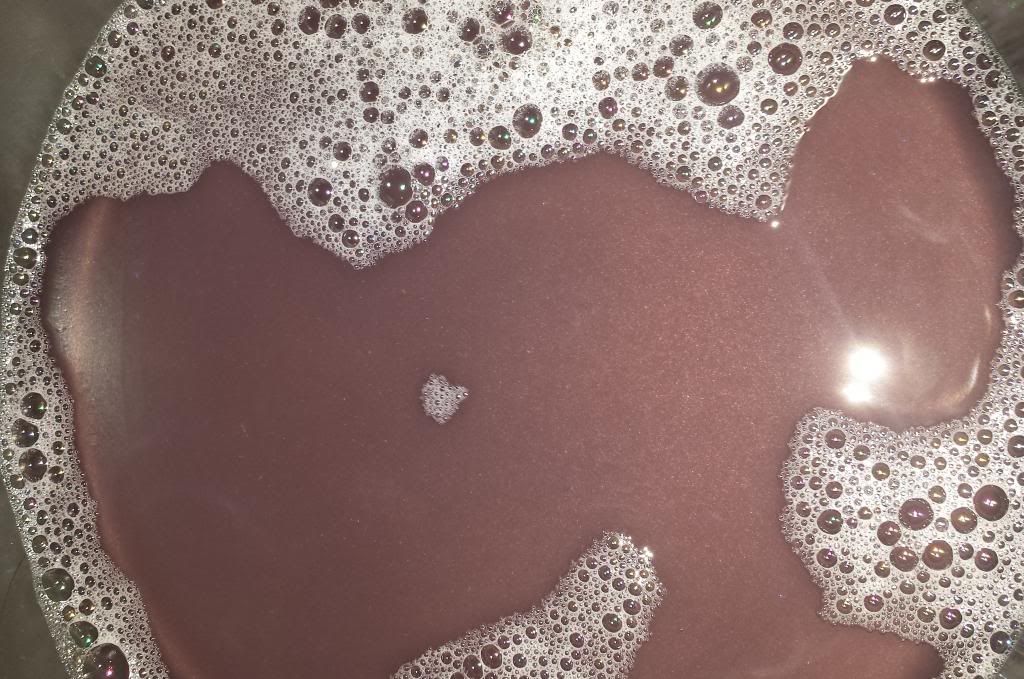
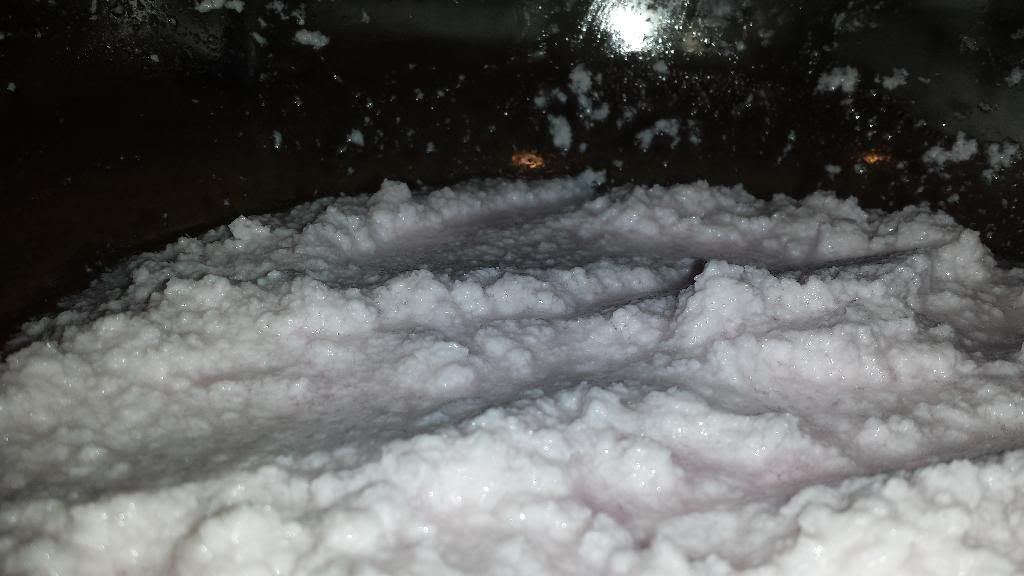
It was completely clear and as thin as water...umm...I wasn't sure that was right so I thought maybe I should add another bar of soap.  This time I added a bar of Kirk's Original Coco Castile Soap...It looked exactly the same.  Ok then - what does the internet say?  Lot's of people had this issue - about half of them said to let it sit overnight and it would "gel" by mornig.  12 hours later...nope still water.  Other people had said you need to add disolved salt, still nada.  Ok, one more try and then I am ditching it for now.  The last thing I tried was to boil the extra water out.  I probably went a little overboard, but it did finally start looking like hand soap...for about an hour...then it looked like this...


Now it was too solid and was seperating...so it looked like snot when you put it on your hand lol


So yeah - it didn't work out so well.  It does clean your hands, and I love how it smells and makes my hands feel, but it wont come out of the pump.  That was kind of the whole point!

I do have a plan though - I am going to make the original watery soap and use it in one of those foaming soap pumps.  I think it will be perfect for that!  Now I just need to find one that's empty...

Anyone else have a project not work out?  It would have been stressful, but I just wanted to try it for fun so that helped :) 


Friday, March 7, 2014

Sweet Cherry Kiss

I've been dreaming about these cookies for awhile. I finally made them! 

I pinned this recipe just before Valentine's Day. The original recipe looked more red, with the addition of dye. I left it out because I figured it had enough color from the cherries. They really do look pretty, just not as vibrant as they do with the dye. 

I had to try them when they first came out. I was a little disappointed, I couldn't taste a lot of flavor. Luckily I tried them again and oh they got better. So it's best to let them sit. They are so buttery too! They should be with a full cup of butter in the batter! 

Here is the recipe:


In a big bowl add 2 sticks, 1 cup, of butter.


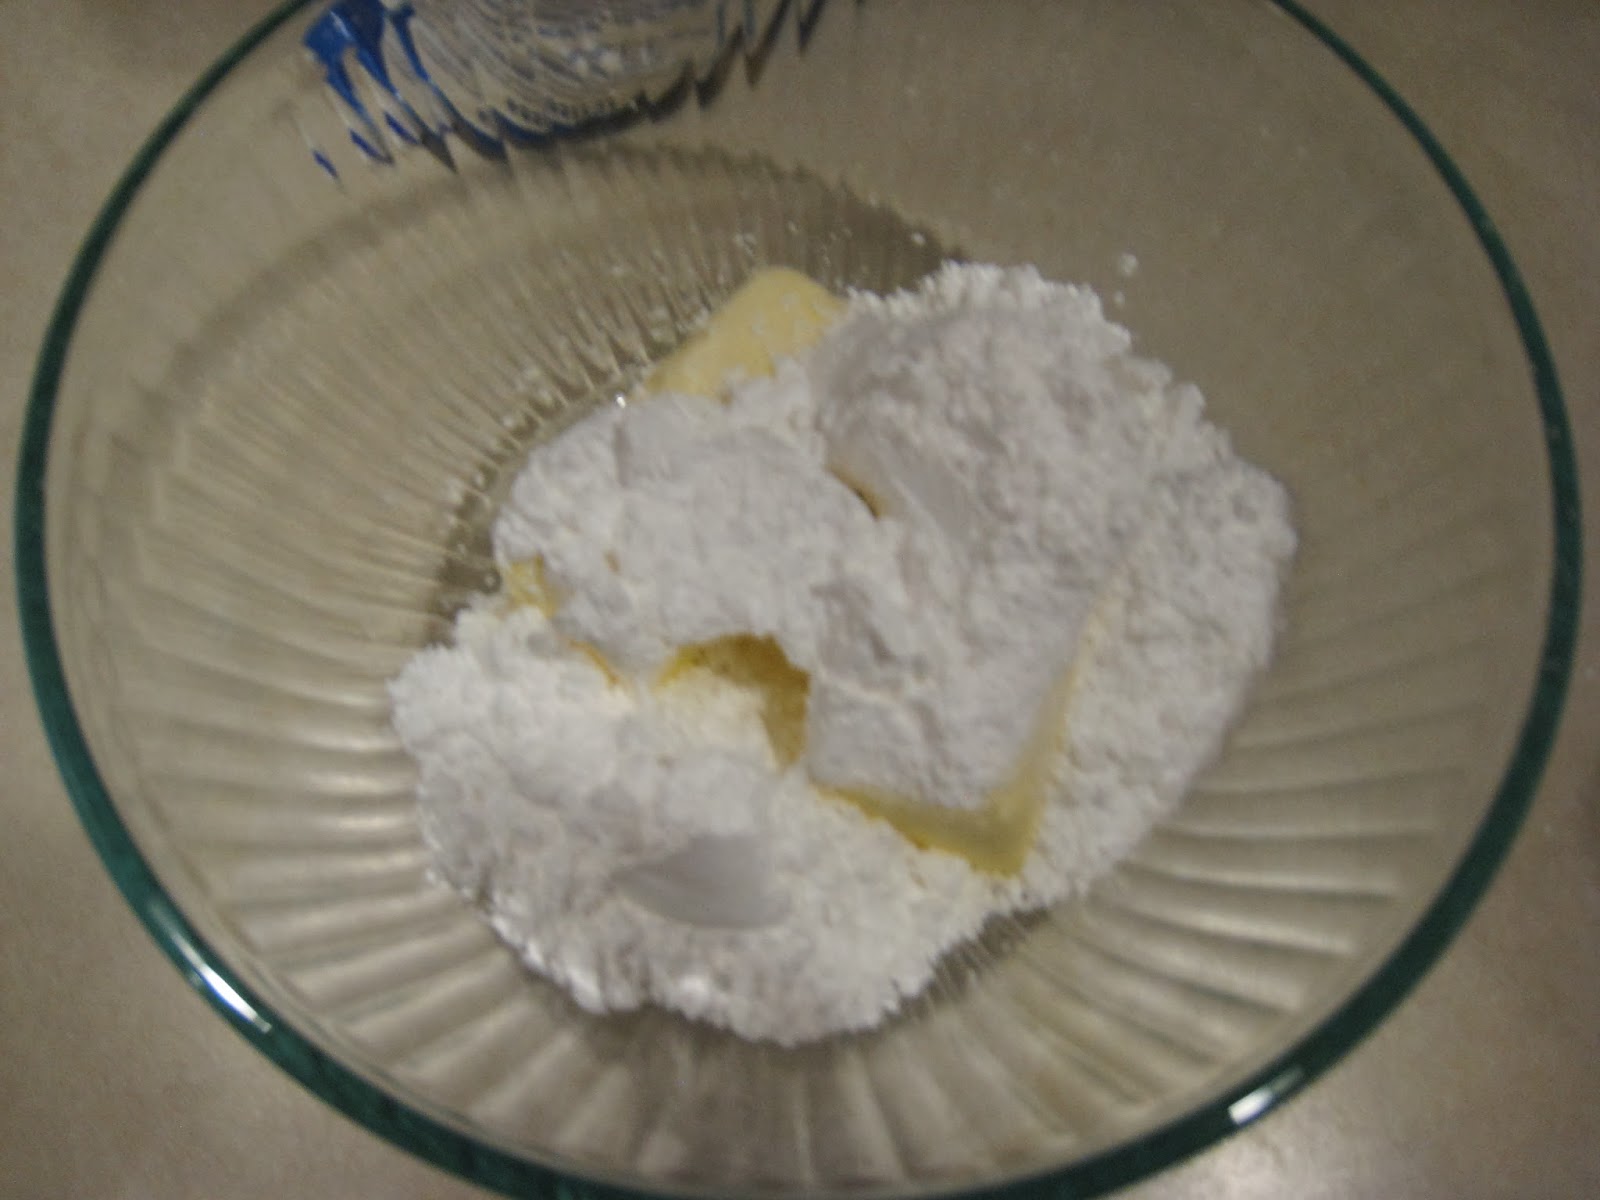
Add 1 cup of powdered sugar


Add 2 teaspoons of Maraschino Cherry juice, 1/2 tsp of Almond extract (Here you can add 4 drops of red food coloring if you want the cookies to look vibrant.)


This is what it looks like after mixing for a bit.


Add 1/2 tsp of Salt and 2 1/4 cups of flour.


Then add a generous 1/2 cup of chopped Maraschino Cherries.


The dough doesn't come together like other cookie dough. When you press the dough together it stays.


Roll into balls and place about 2 inch spaces. Bake at 350 degrres for 8-10 minutes.


When they come out, press unwrapped chocolate kisses into the center. I used dark chocolate kisses!


I didn't get all of the dough on the pan the first batch. I rolled these a bit bigger and I think I will do this next time. I had more room to place the chocolates and they look nicer.

I hope you enjoy these!

1 cup of butter
1 cup of powdered sugar
2 teaspoons of Maraschino Cherries
1/2 teaspoon of Almond Extract
4 drops of red food coloring (optional, I didn't add it to my recipe)
2 1/4 cups of Flour
1/2 teaspoon of salt
1/2 cup of chopped Maraschino cherry
unwrap chocolate kisses depending on how many cookies you make. I used 30

In a medium bowl mix butter, powdered sugar, Maraschino Cherries, Almond Extract, and dye if you using. Add flour and salt and mix. Fold in chopped cherries. Roll into 1 inch balls and place on baking pan 2 inches apart Bake 8-10 min in a 350 F oven.

I got the recipe here.

Related Posts Plugin for WordPress, Blogger...