Wednesday, August 12, 2015
Banana Oatmeal Cookies
I was thinking of this idea and then I was talking to a friend about the flavor so I went out on a search. I found this recipe. I search for Banana Oat Cookies and they were all the 2-3 ingredient healthier recipes. I wanted a yummy cookie with lots of flavor. I change oat to oatmeal and I was successful!
They turned out soft and scrumptious! I had planned on throwing in nuts, it was smelling so good I decided not too. I didn't bake them all so I will add some tomorrow when I finish baking them!
Ingredients
3/4 cup softened butter
1 egg
1 teaspoon vanilla
3 bananas or 1 cup
1 cup brown sugar
1/2 cup granulated sugar
1 1/2 cup all purpose flour
1 1/2 teaspoon cinnamon
1 teaspoon baking soda
2 teaspoon cornstarch
3 cups old fashioned oats
Preheat oven to 350 degrees Fahrenheit. Line a baking sheet with parchment or foil or a silplat!
In a medium bowl with a hand mixer blend butter, egg, vanilla, banana and sugars. Add flour, baking soda, cinnamon, corn starch and baking powder blend until combined. Hand mix the oats in. Using a cookie scoop drop by rounded spoonfuls. They do spread out but not too much. Flatten the tops slightly with the back of a spoon. Bake for 10-12 minutes. Let rest a little before moving to a cooling rack to complete cooling.
I think you could enjoy these for breakfast, they are similar to oatmeal!
I adapted from this recipe.
Enjoy'
Tuesday, August 11, 2015
Progress Made on the Pantry!
I don't have a lot to talk about today because we've been working in the bookshelf boxes for the pantry all weekend (well, mostly)!! So, here is a picture of the boxes!! I'm so excited, but we still have a lot to do to install them and finish the trim edge...back to work!!
Have a great day!
Beth
Friday, August 7, 2015
Fresh White Bread
It rained a little this week. The Fall season crept into my mind for a little bit, I began pinning warm dips. I came back to reality when the heat came back and had an ice cream bar! I do love baking, luckily we have AC so that I can. One of the program's we are working on in Xander's therapy is independent activities. One of them is making a sandwich. Every time I buy bread it doesn't get eaten, so I figured I would make it instead. It always gets eaten!
I messed up a little, luckily it all worked out. I set out the butter but forgot to put it in towards the beginning. Then I didn't add the remainder flour, I should have realized it didn't look right. It's been awhile since I made bread from scratch.
This is my new favorite recipe and I will be making this again. This makes 2 big loaves.
You will need a big bowl, oil, 2 loaf pans, stand mixer with the dough hook, paddle attachment, foil and a clean towel.
Ingredients
4 1/2 teaspoons active dry yeast
3/4 cup warm water
1/4 cup sugar
1 Tablespoon salt
3 Tablespoons unsalted butter
2 2/3 additional warm water
9-10 cups all purpose flour
1/4 cup melted butter to brush on the tops
In the bowl of your stand mixer combine the yeast and 3/4 cup warm water with the paddle attachment. Let activate for 5 minutes. This is where I prep the other ingredients. Add sugar, salt, butter and additional water mix until combined on slow. Adding 1 cup at a time, add 5 cups of flour to the mixture until smooth. Still on slow add remaining flour. Remove paddle and attach dough hook, knead for 10 minutes. Lightly grease a large bowl. Put dough in the bowl and turn it once to cover the dough in oil. Cover with clean towel and let rise for 1 hour. Grease your loaf pans.
Punch down the dough. Divide by 2 and roll each out about 12 by 12 squares. Then start rolling one of the edges like a burrito. Tuck the ends and place in a loaf pan. When both are in their pans cover again with the towel and let rise agin for an hour.
Just before they are done rising, preheat your oven at 425 degrees Fahrenheit. Move your rack to the second from the bottom position. Bake for 15 minutes and then cover with foil to prevent the tops from burning and bake for 15 more minutes. Brush the tops with 1/4 cup melted butter and let sit for a little bit before you slice. I usually can't wait, I like warm bread with butter!
I got this wonderful recipe here.
Enjoy!
Thursday, August 6, 2015
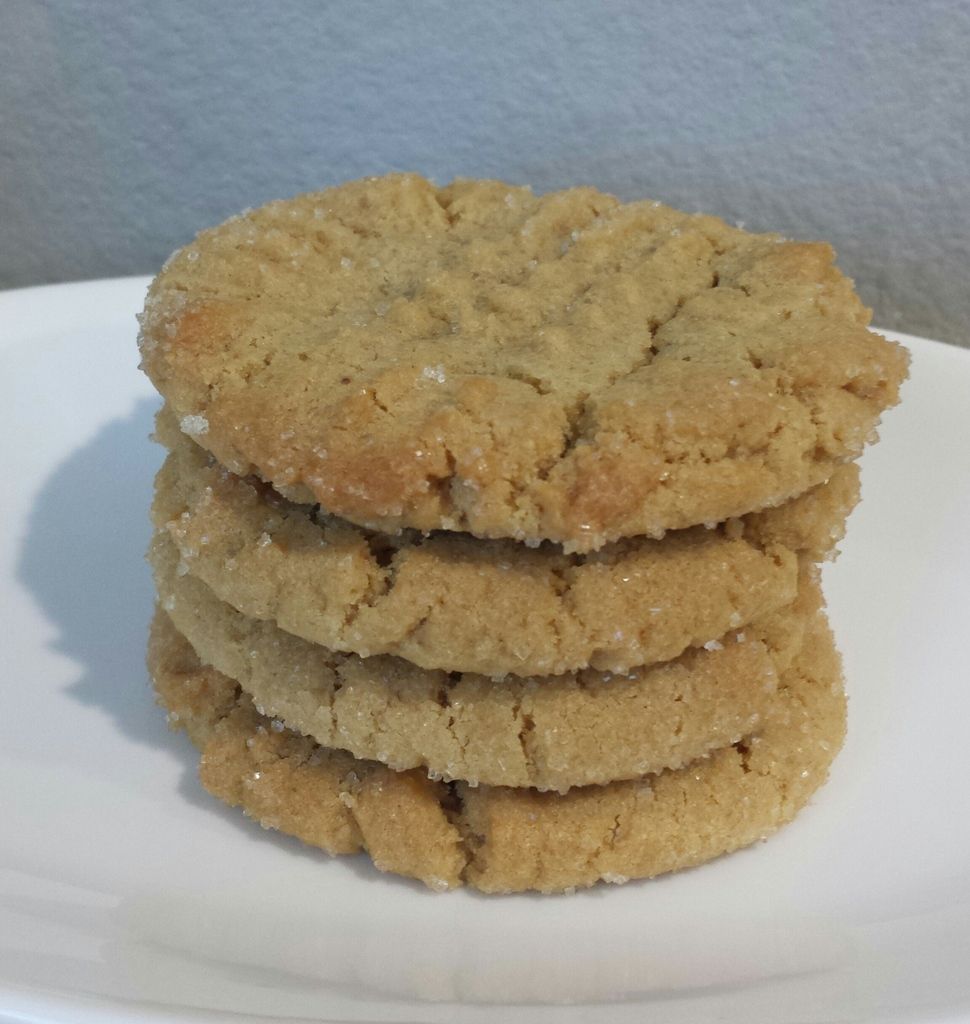
Yummy Peanut Butter Cookies
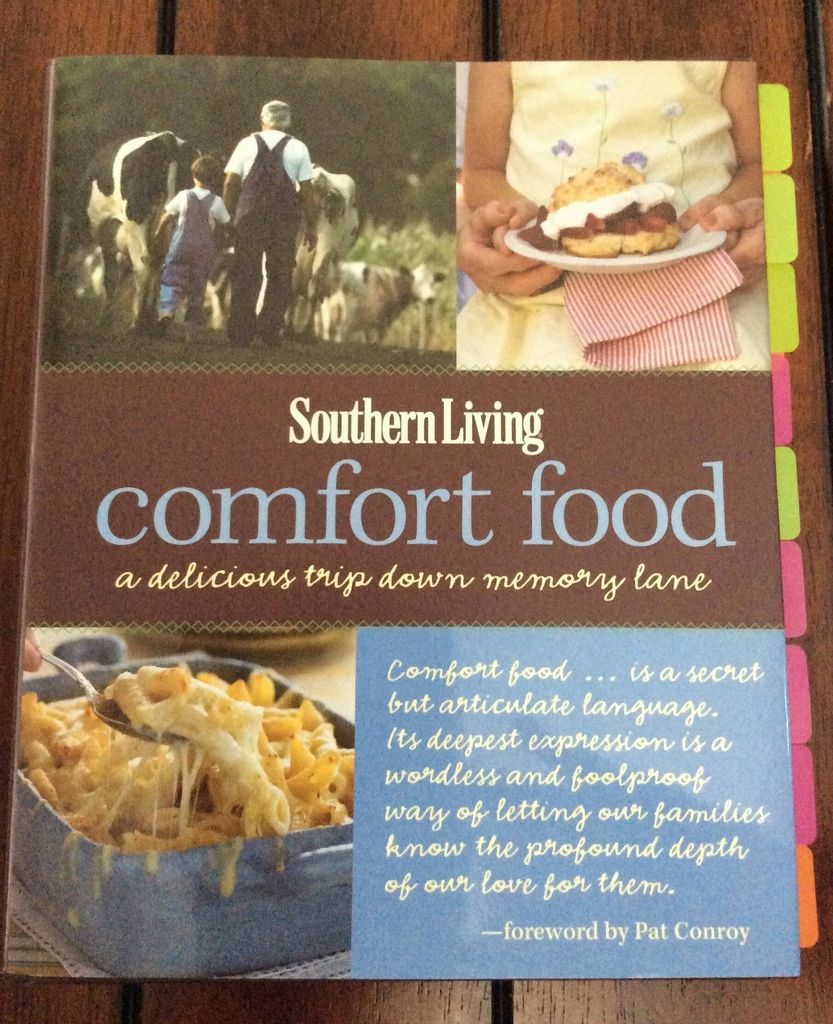
Felicia and I had so much fun doing recipes from our Cookbook of the Month last month!! We hope that you were inspired to pick up a favorite cookbook and make a new recipe too! This month we chose Southern Living Comfort Foods!! My mouth starts watering just looking at the cover :)
For my first recipe I chose OldFashioned Peanut Butter Cookies! I always forget how much I really love them, until I can't stop eating them!! These are amazing and you get a lot of dough out of the recipe. I ended up being too impatient and I made drop cookies before seperating and putting the rest in the fridge. I plan to only make a few at a times so I don't eat to many at once! I also want to try making Nutter Butters with them...mmm I can't wait to try those and I'll definitely share.
1 cup butter, softened
1 cup peanut butter
1 cup sugar
1 cup brown sugar, firmly packed
2 eggs
2 1/2 cups flour
2 tsp baking soda
1/4 tsp salt
1 tbsp vanilla
Cream the butter and peanut butter together then add both sugars and continue until combined. Mix in the eggs. In a small bowl combine the flour, baking soda and salt. Add the dry ingredients to the butter mixture in small increments, mixing thoroughly between. Add the vanilla and mix until everything is well mixed.
For immediate cookies, preheat the oven to 375° and drop scoop fulls onto parchment paper. Roll the balls in sugar and use a fork to press the centers down - making the traditional criss cross pattern. Bake for 7-9 minutes. The cookies are done when the edges are just turning golden - this will give you crunchy outsides with soft insides!
For cookies later, refrigerate the dough by wrapping it in plastic. When you're ready to make them, simply follow the steps above. You will just need to roll the dough into balls instead of using a cookie scoop.
Ta-Da delicious peanut butter cookies in less than 20 minutes!
Have a great day!
Beth
Tuesday, August 4, 2015
A Personalized Scrapbook and Eiffel Towers
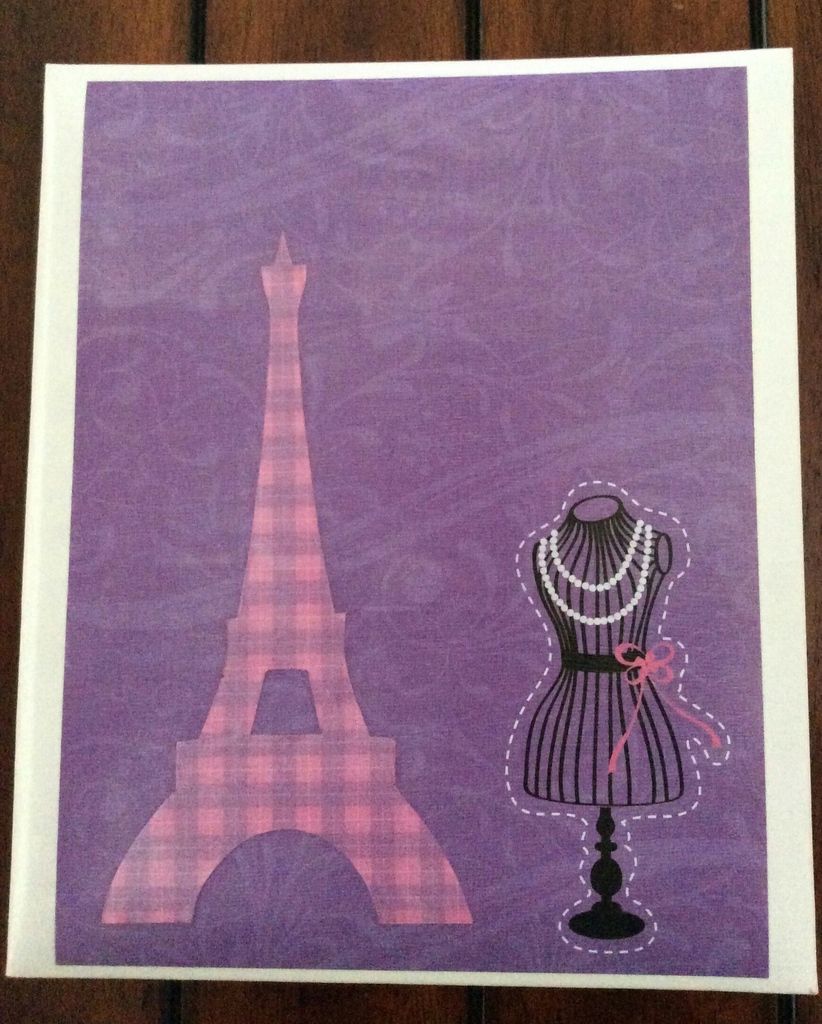
This was a really easy project and it was fun to make something that was personalized for Felicia for her birthday. After looking for something ready made and finding nothing - I decided to do it myself! I took a plain white scrapbook and used Mod Podge to adhere the scrapbook paper to the cover. I laid it out first to decide how I wanted to look (don't just go slapping on whatever lol), then I spread a layer of the mod podge onto the bare cover and covered it with the base paper. Then I painted on another layer over that and added the detail (the eiffel tower - which I cut out). I then put 3 layers of Mod Podge on top of all of it, waiting 30 minutes between each one. Once it dried I was all done!! See didn't I say it was easy!!
I also used the same eiffel tower stencil (I drew it on plain drawing paper to use for a few things) to make silhouette 3D eiffel towers for table decorations. I just cut out two of the same size outines, cut one in half and glued them to either side of the second one. I used foam paper so they would be sturdier, but I think any heavy duty paper would work. These were really easy too - but they were pretty time consuming. I think it took about an hour and a half to make 5 I think. (It was really, really hard to get a good picture of these - but there were pretty cool!)
Has anyone guessed the theme and color scheme used for Felicia's party yet? I think we were too subtle! Lol
Have a great day!
Beth
I also used the same eiffel tower stencil (I drew it on plain drawing paper to use for a few things) to make silhouette 3D eiffel towers for table decorations. I just cut out two of the same size outines, cut one in half and glued them to either side of the second one. I used foam paper so they would be sturdier, but I think any heavy duty paper would work. These were really easy too - but they were pretty time consuming. I think it took about an hour and a half to make 5 I think. (It was really, really hard to get a good picture of these - but there were pretty cool!)
Has anyone guessed the theme and color scheme used for Felicia's party yet? I think we were too subtle! Lol
Have a great day!
Beth
Subscribe to:
Posts (Atom)